Scared Straight
Leaning and retaining, a tutorial.

Hi guys, I was thinking of different exercises I have used in the past to help riders and was reminded of a favorite one the other day. Some of you have heard me say you ‘lean in’ on the turns. Most of you have straightened up without me having to resort to this particular technique, but it is still a favorite and I am probably going to use it again one day soon for a few of you. You know who you are, I don’t have to name names. :)
This is a great tool for riders intermediate through to advanced (not beginners), riding home individually, or riding in a group. The one advantage to having a larger group is being able to switch around stirrup leathers because length of stirrup is important, especially if you are tall.
Dedicating an old pair of stirrup leathers and stirrups is a really good idea, which is what I had to do, as long as they are not dry rotted, or have any nylon coming through the worn out places which might mess up your saddle. I normally ride in 54” stirrup leathers and needed the ones for this exercise to be more like 60”. I am 5’10” for those who don’t know me.
Ok, let’s get to it.
Take those bad boys off your saddle. Yup the stirrups and leathers come straight off. If this is your first time attempting this exercise, I recommend having a second person help you, (either a trainer, good friend, partner in crime, or even a horse challenged boy/girlfriend) because if you are mounted, it can be awkward, and if you are not mounted, you have to somehow find your way back into the saddle again.
Now with the stirrup leathers unbuckled, you are going to attach them to each other. That’s right, the left leather buckles to the right leather and the right leather buckles to the left leather and voila you have a circle! Do not attach them right at the hole you normally use. Go longer. If you have an extra 6 holes, you may need them.
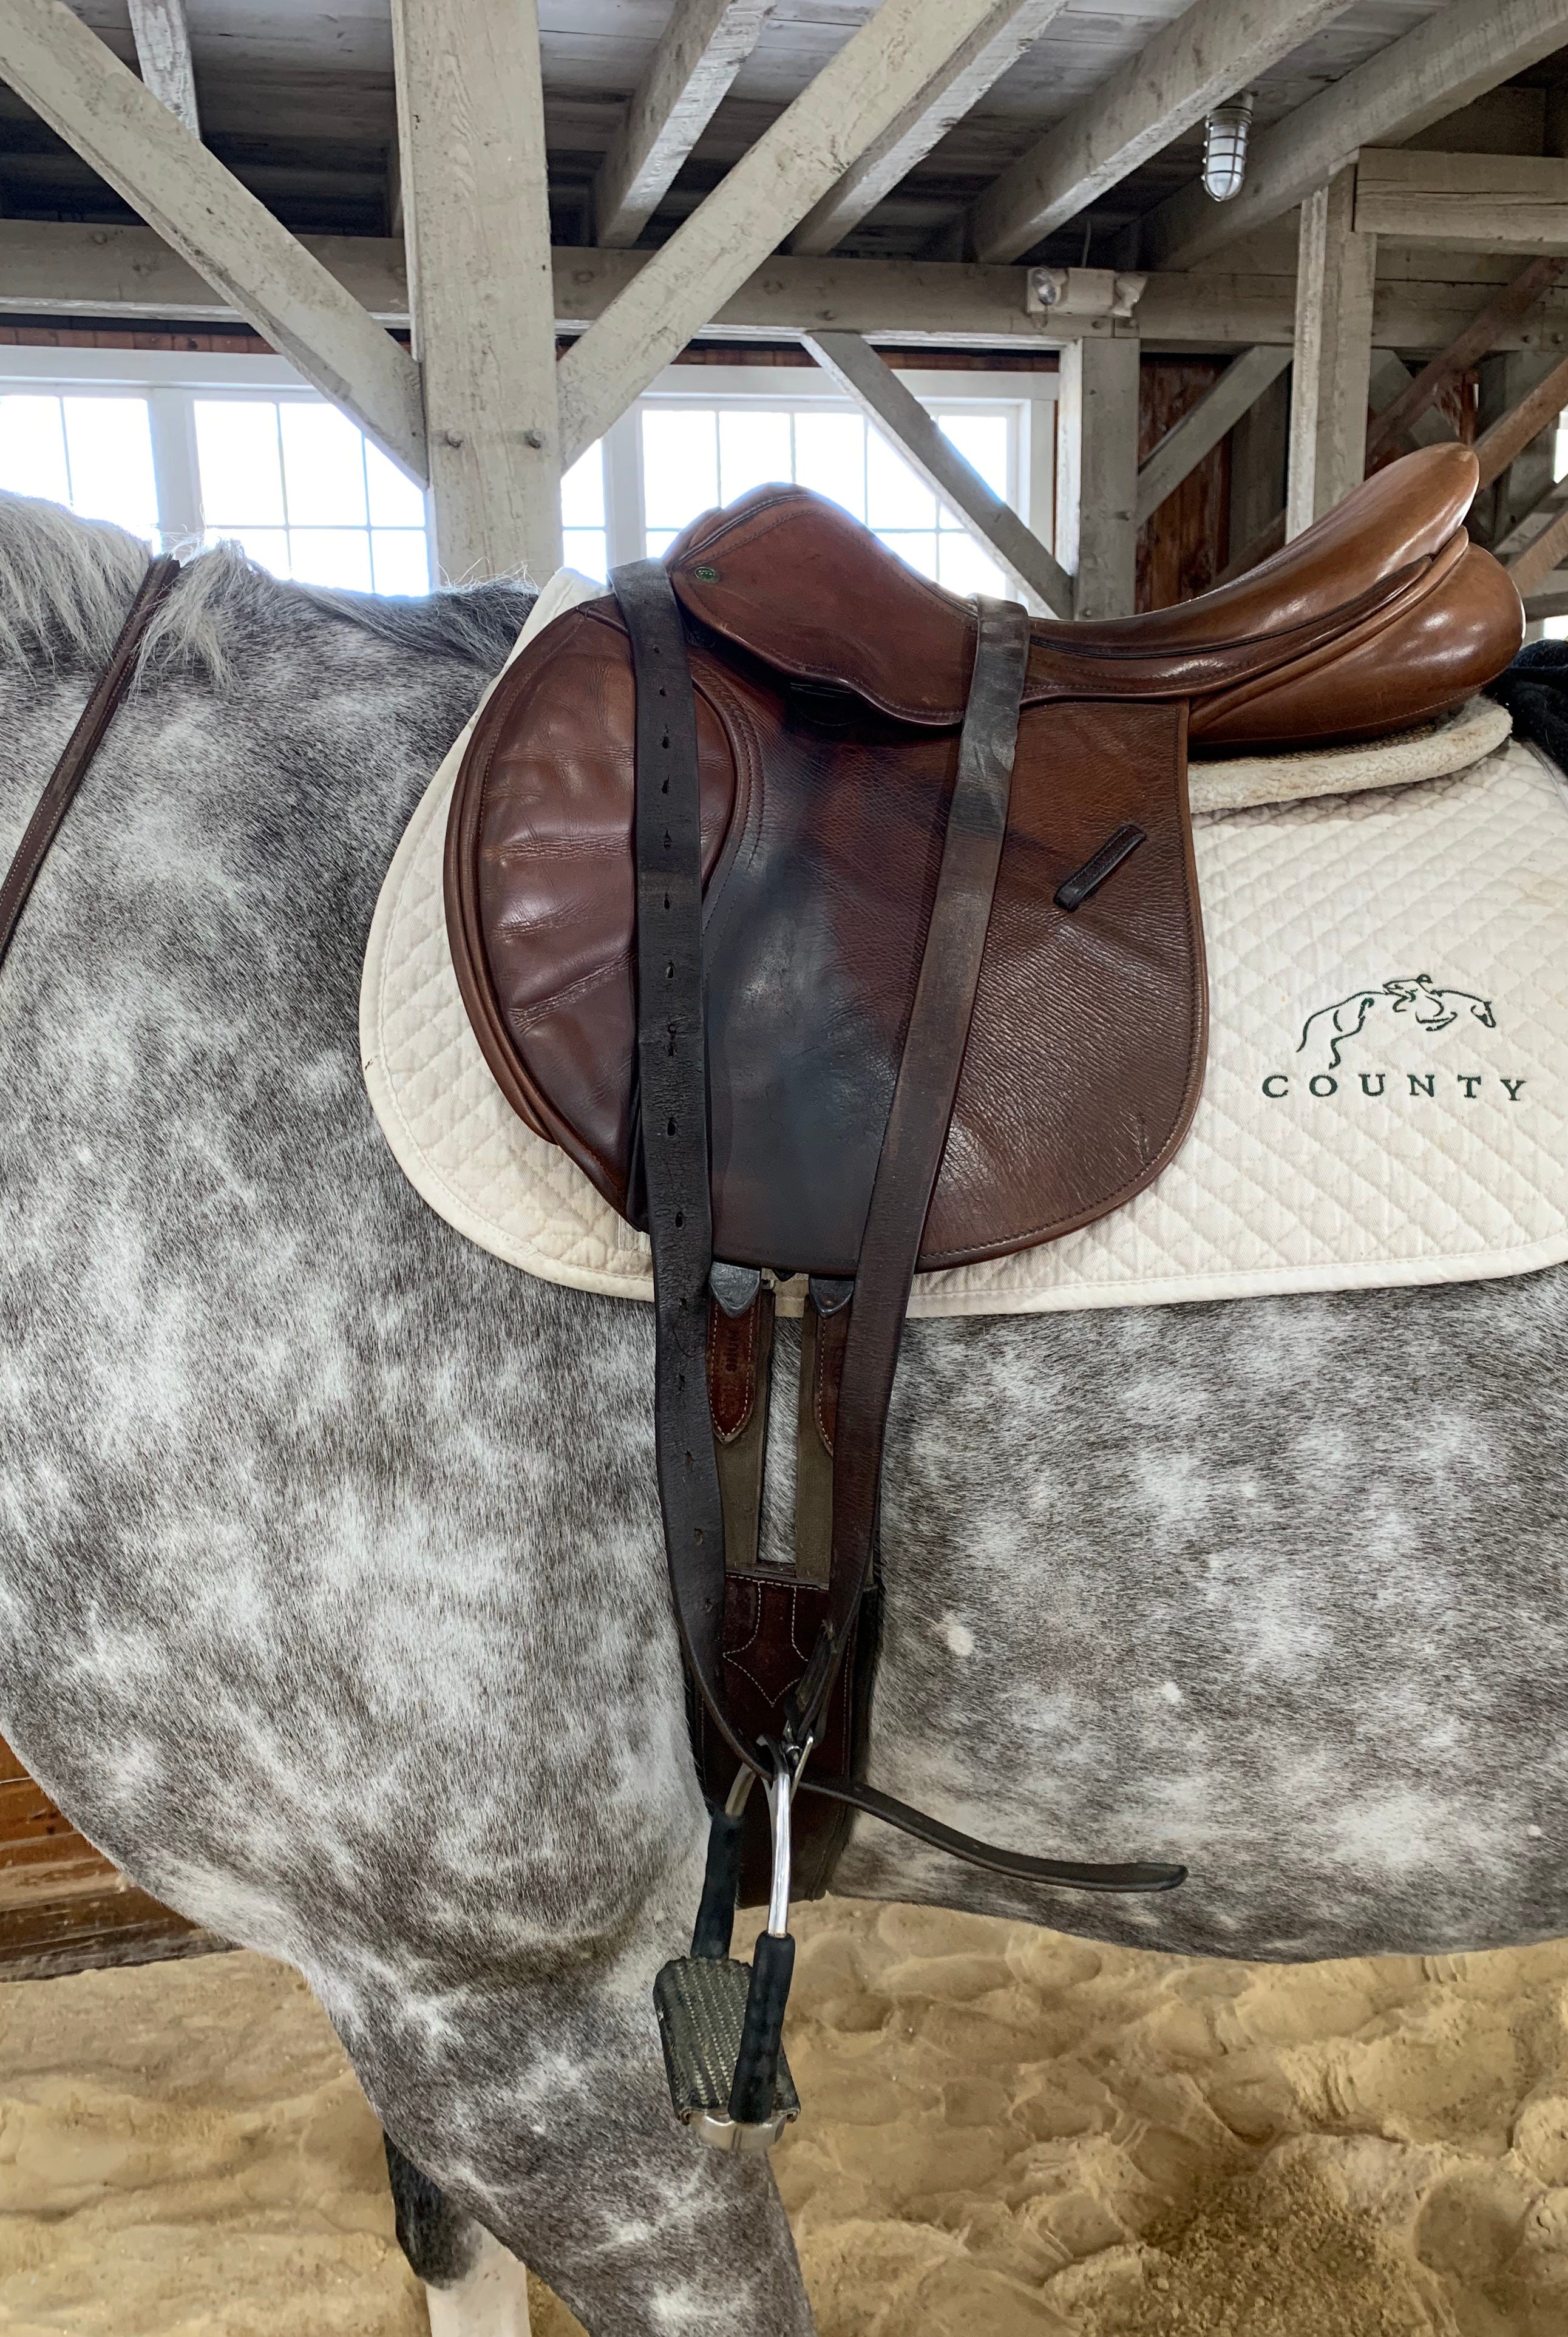
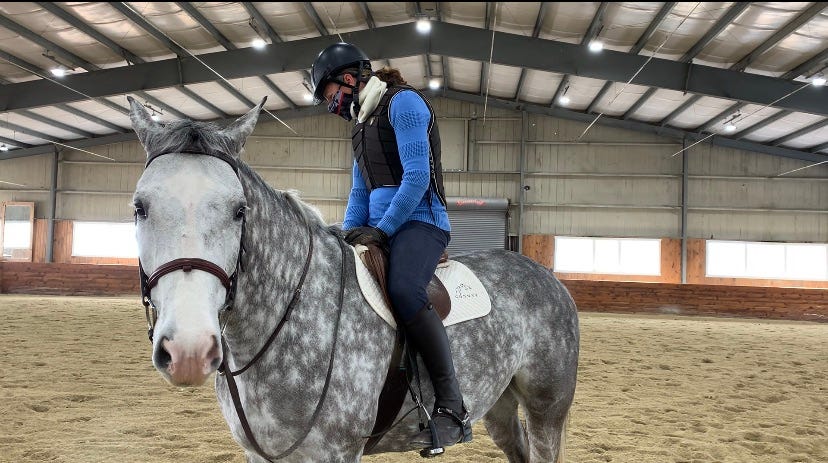
Now run each stirrup close to the buckle, on separate sides. This is to protect your saddle. See how the stirrup and buckle are close to each other in the above pic.
Place the leathers over top of the saddle.
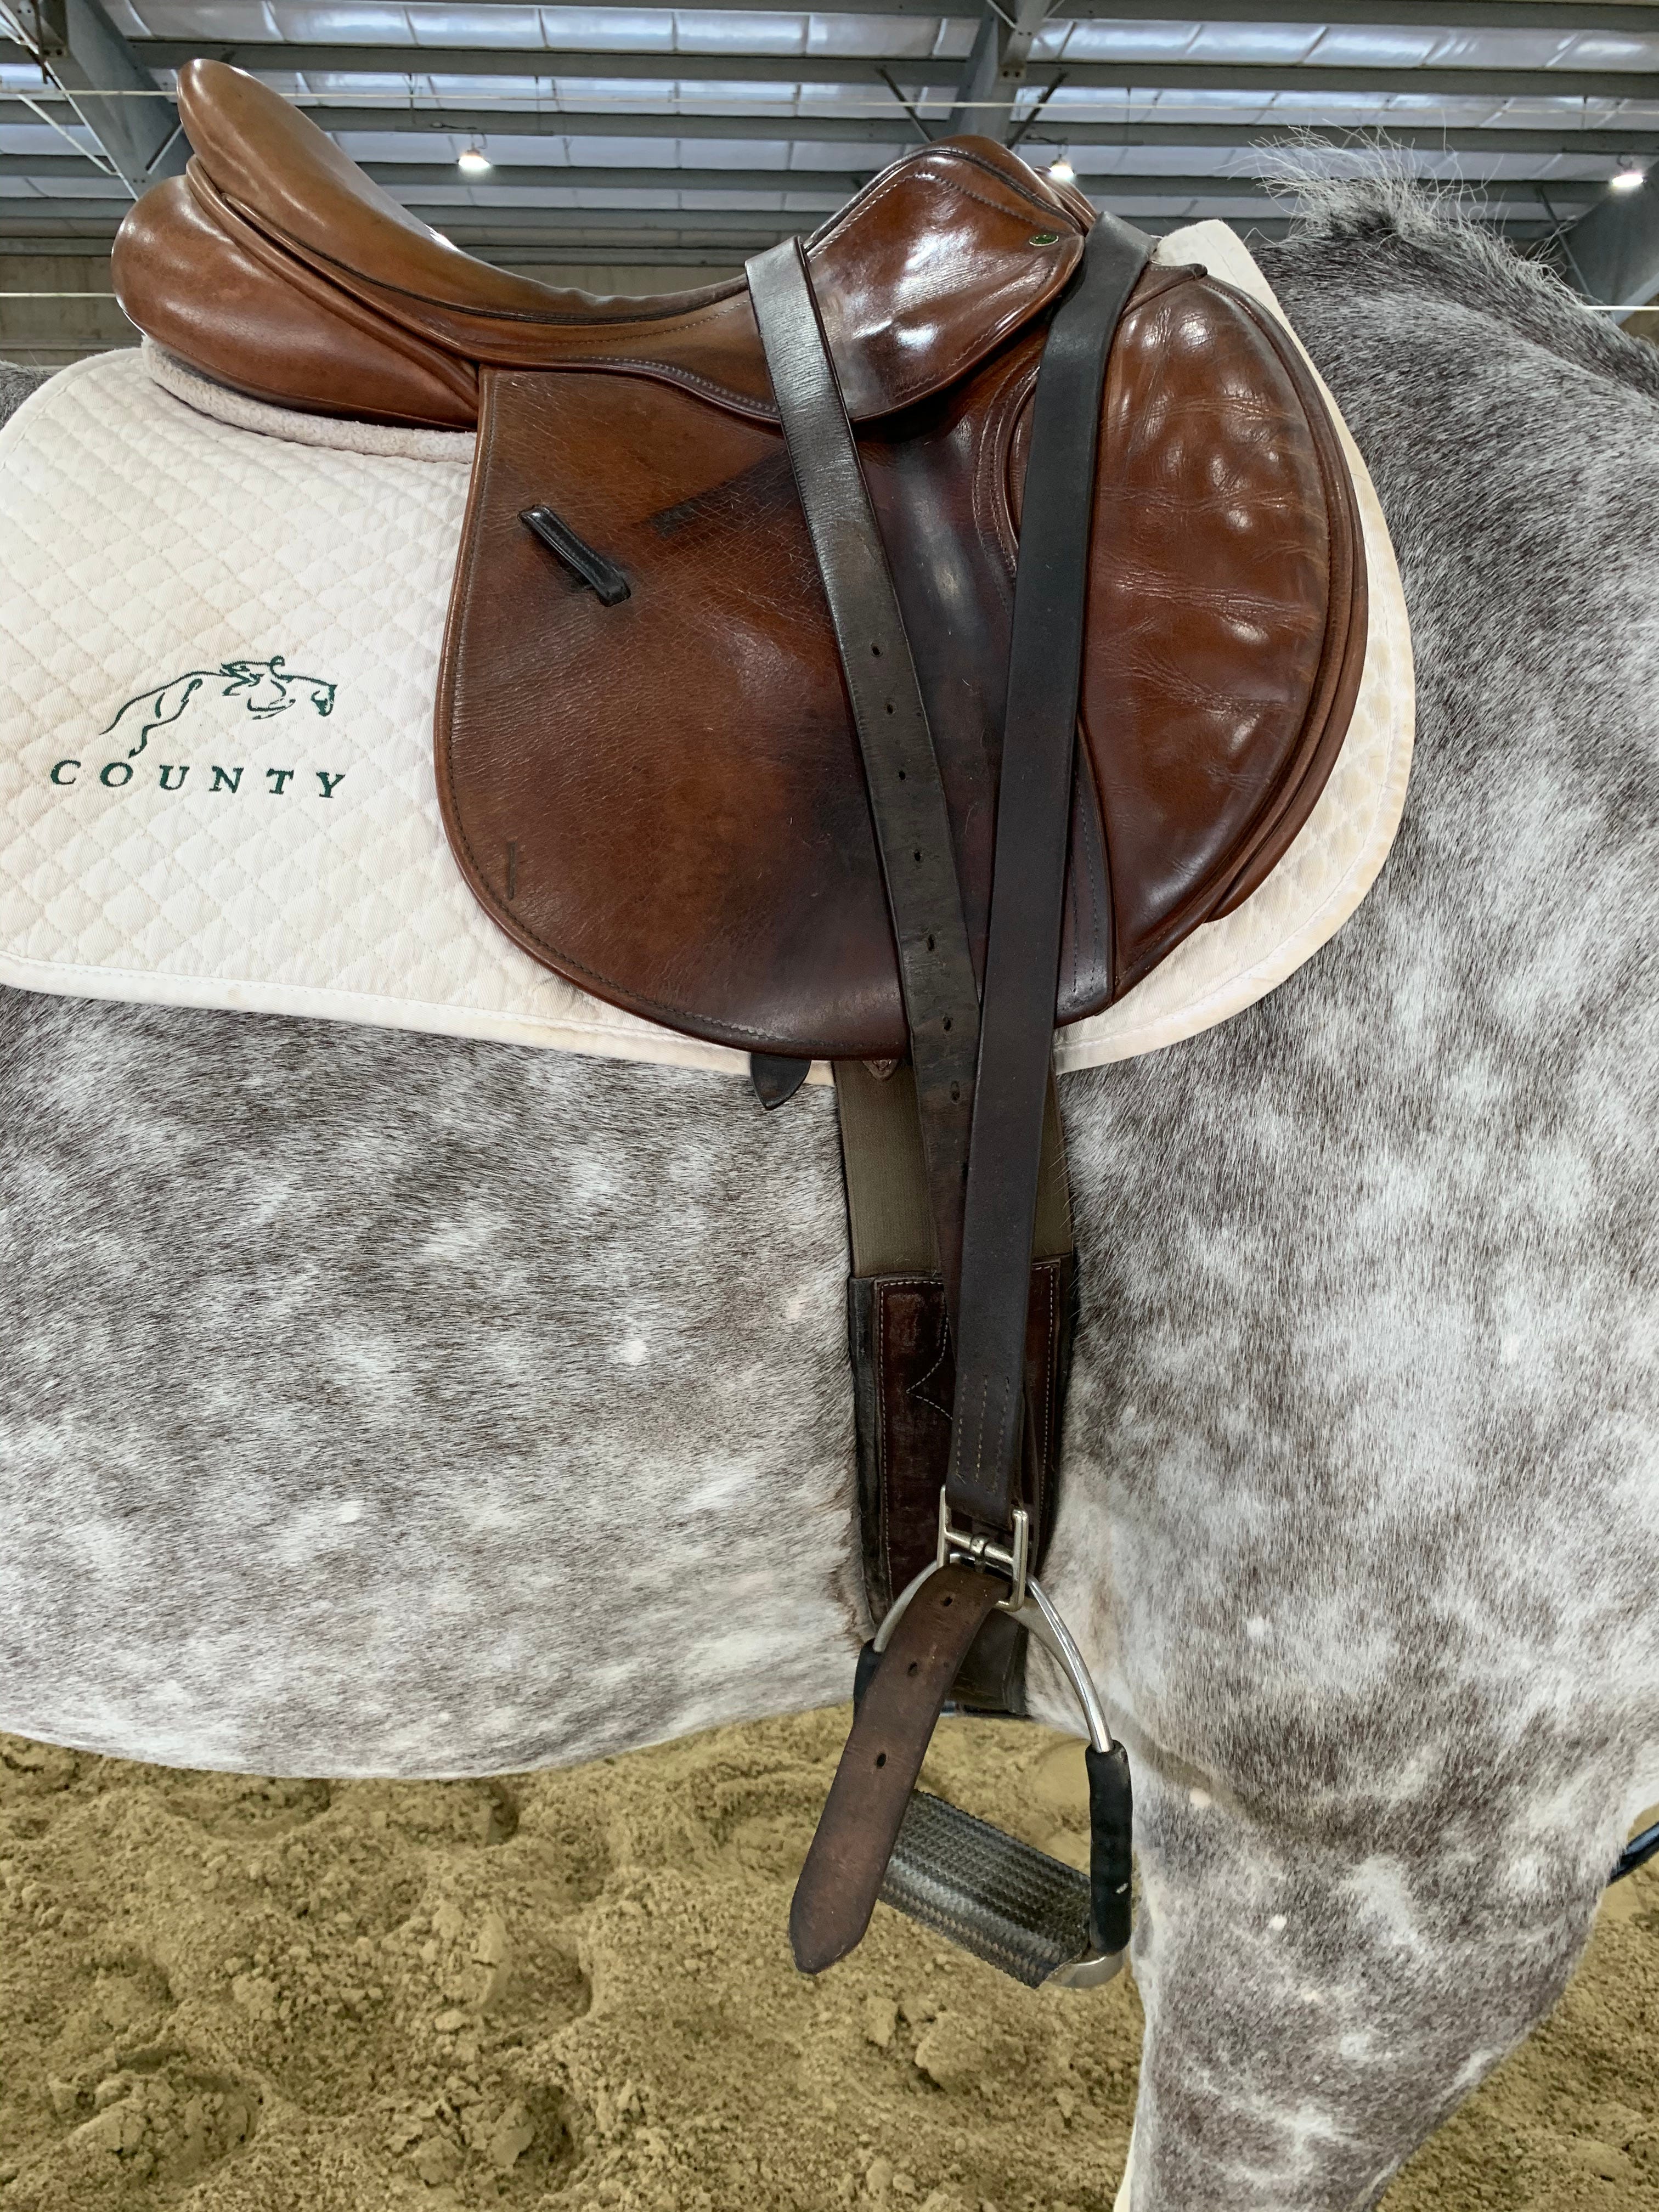
Next, place one strap of the leathers just behind the pommel, and one just in front of the pommel across the withers (having a protruding saddle pad is a bonus here, because you can rest the strap directly on the pad). The forward strap will not bear down on the wither, but go across the front of the saddle and come down across the knee roll.
It is very important to not have both straps on the saddle, or else the leathers will not slide. We need them to slide, baby, slide…
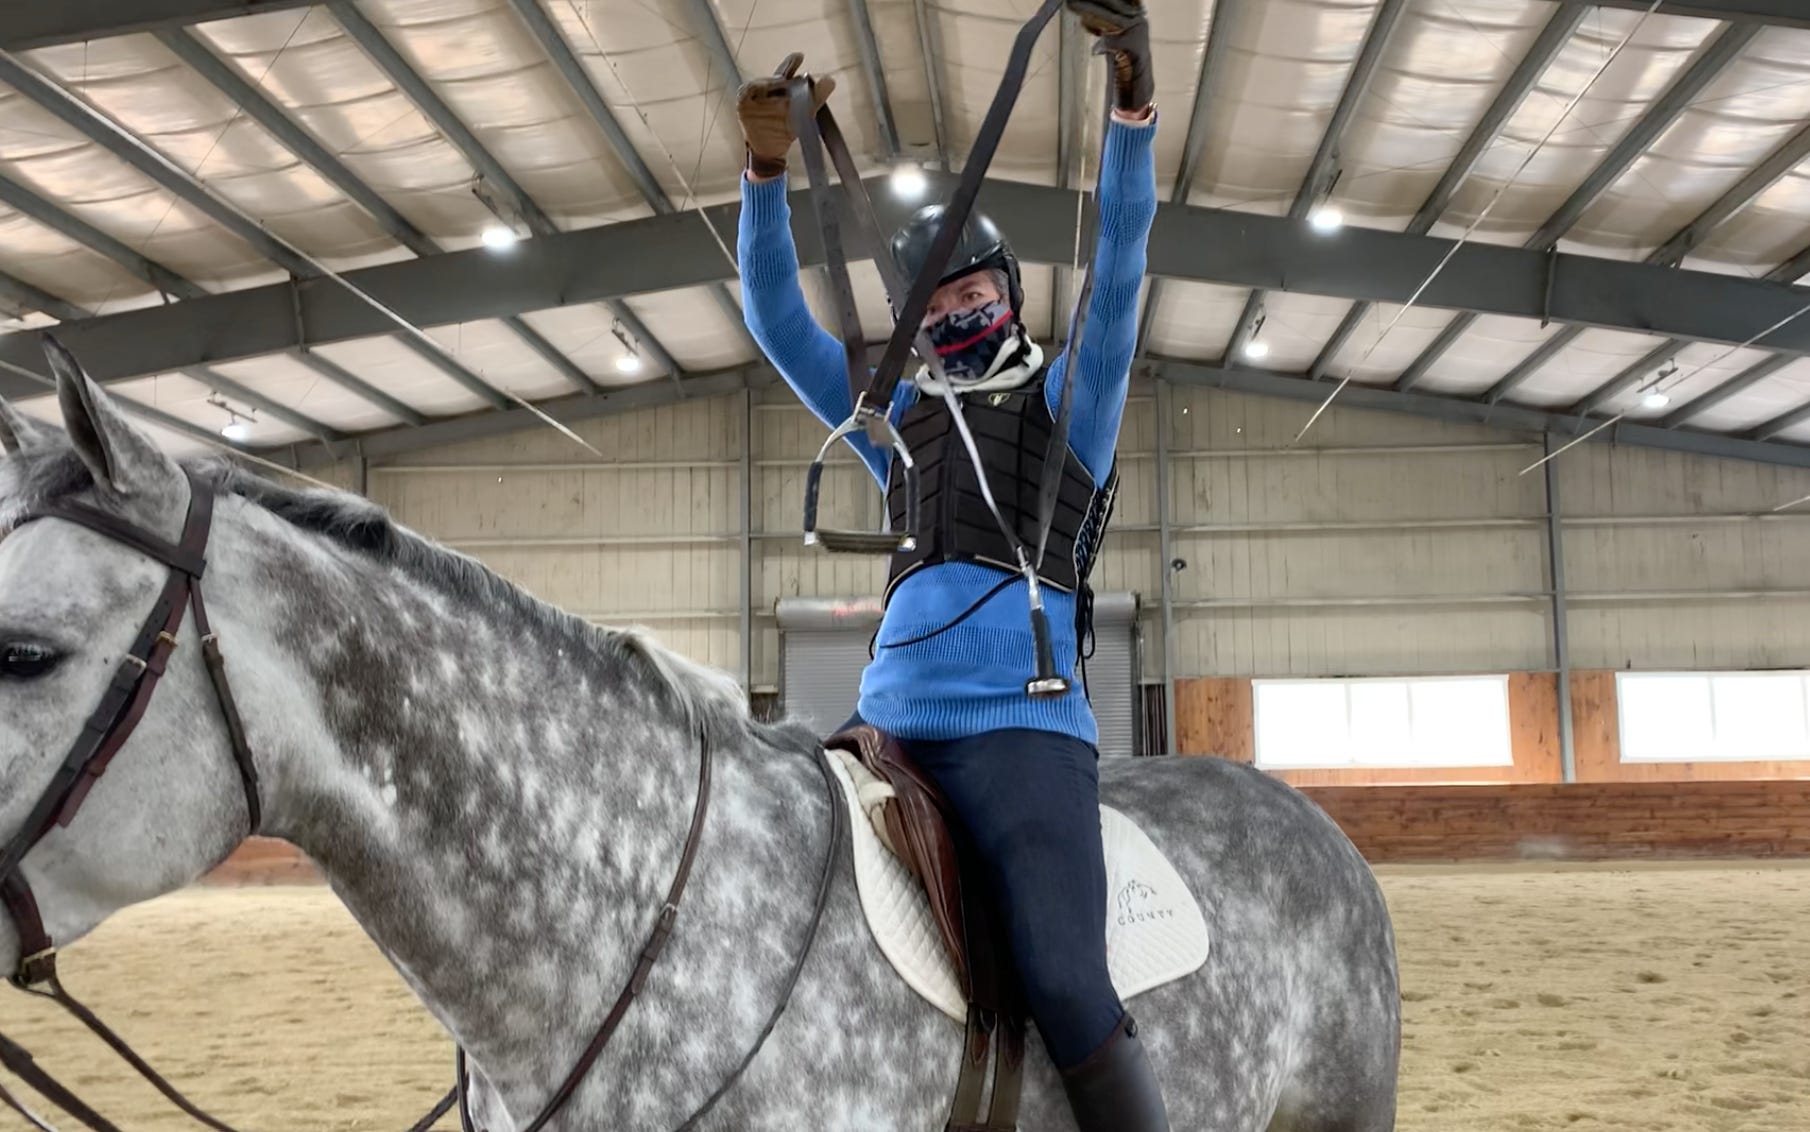
Now, find your stirrups. They should be at the normal length or slightly longer you are comfortable riding in. This is where your friend can help with adjustments, shortening or lengthening as needed. I should be nice and warn you to make sure both feet are in the irons before you push down on your heels. And if your stirrups are too short, it will be almost too challenging to work, and you will fall off.
Now some of you may be thinking by now, “just what on God’s green earth am I supposed to do with this here absurd tomfoolery” I thought the same the first time I attempted this, thanks to a clinic with Greg Best. Then, I shoved my right heel down to adjust my right leg and nearly toppled off the side of the horse. Duh. The light bulb flashed in my brain and I may have used a few other curse words (silently) as I realized my weakness had been spotted, called out, and to my astonishment…instantly remedied.
Dang you Greg Best. And here I thought I knew everything.
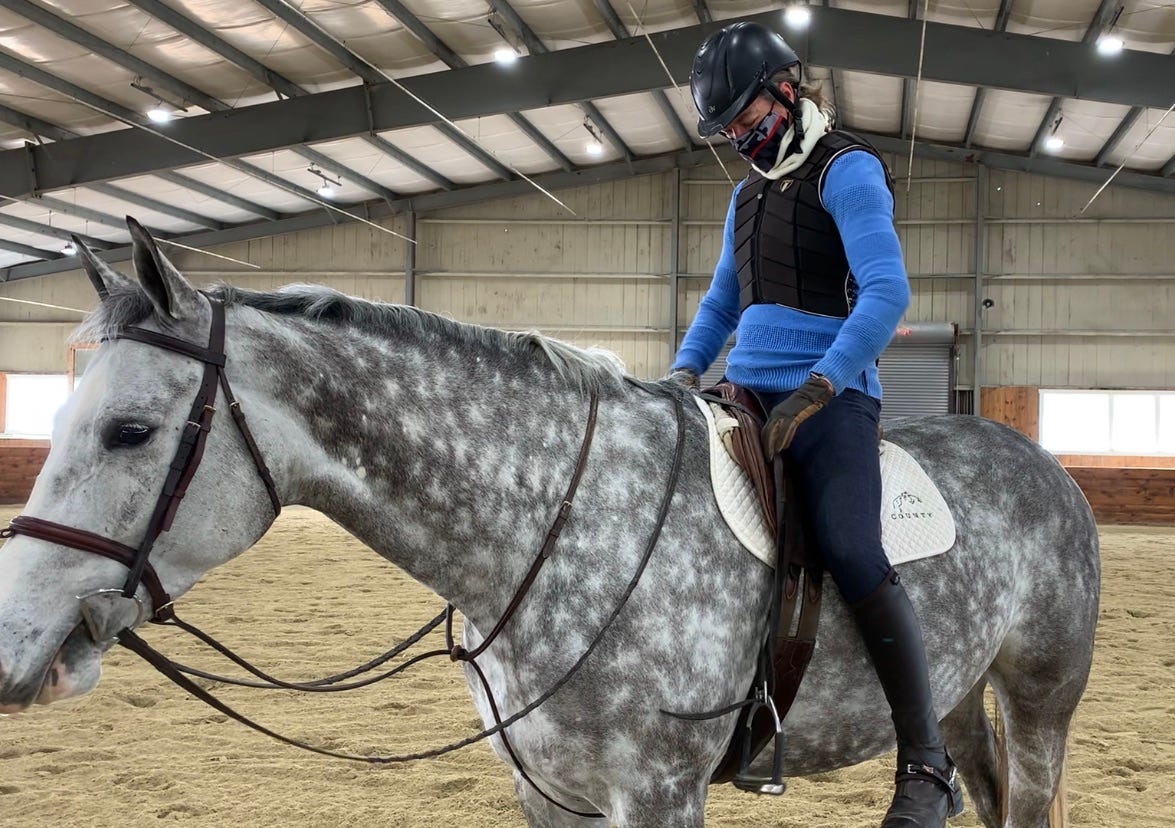
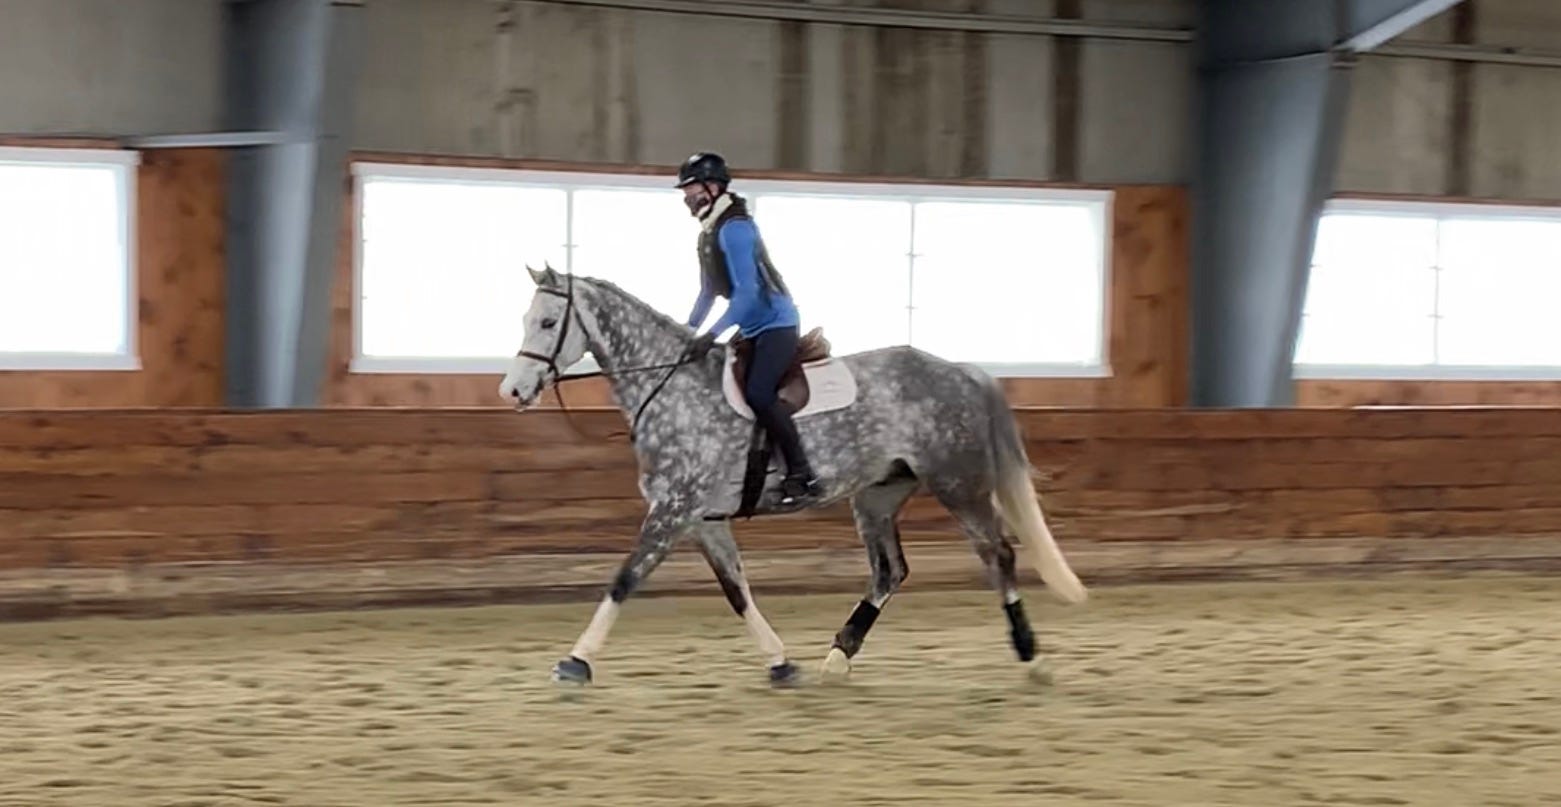
As you make the necessary adjustments, and walk off into the sunset, take your time to find your balance. At the walk, trot, and canter, even over jumps, it is crucial to be aware of your weight distribution on the horse. You have a tendency to lean? Well, not anymore.
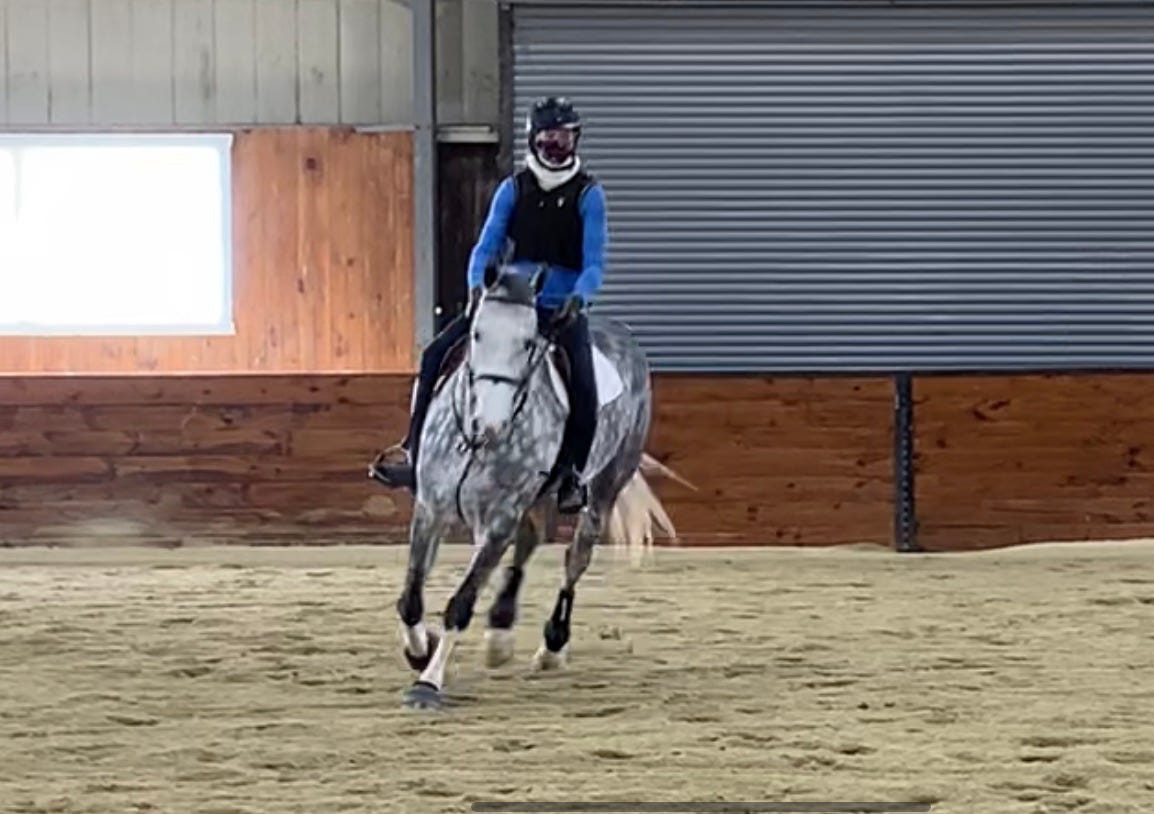
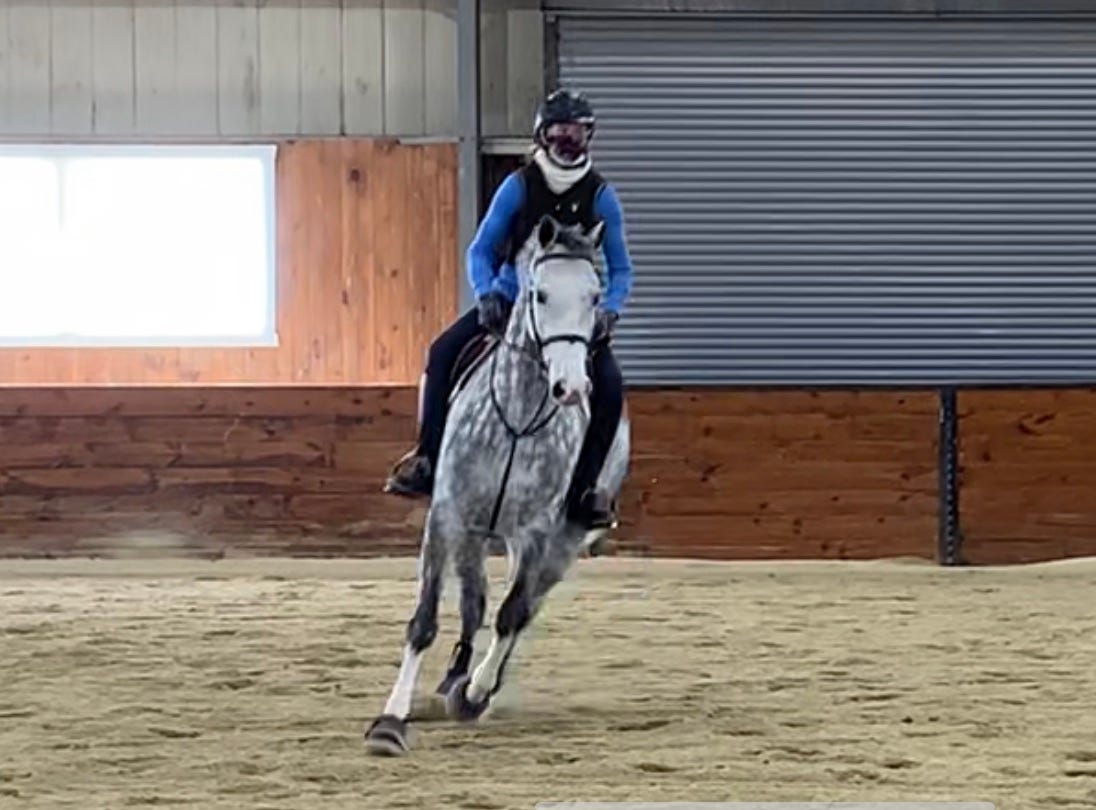
Starting the half circle at the canter, you can see how the horse is moving but I have to struggle to keep the equal weight distribution as the horse turns. Very challenging! But it looks like I am perfectly aligned.
Set you fear aside.
Ha, I know that is easy for me to say, hard in practice, but this exercise will not remove your ability to ride! After the initial awkwardness, you may even grow to enjoy the challenge of keeping your body aligned better and weight even in both stirrups as you go around the ring. There are many times when it is preferable to do this rather than working completely without stirrups. Start at the walk, then move your way up through the gaits. Eventually even your lead changes will be improved. Practice also in the two-point. It is a work out! Your core will feel it as you realize the movement of the horse takes effort to keep up with!
This shouldn’t be a one-off. I practiced for months with this tool, on different horses, different environments, because I was fortunate enough to be able to do so, having several horses to ride. It also meant a lot to me to be as correct as possible. The clinic with Greg was too far back to remember, I took it seriously, desperately trying to retain not just that exercise, but others too, so I could share with my own students.
Retaining information from clinicians.
If you see clinics popping up on the horizon which may interest you, take them! Voice your thoughts now! Even with initial sticker shock, you can actually turn one clinic into at least ten more lessons if you prepare ahead.
Take notes. Write everything down as soon as you have a free moment following the clinic. Once the adrenalin wears off, it may be easy to forget some key factors you heard but maybe weren’t ready to hear. Everyone has an ear which tunes into the praise of a famous person, right? ‘Like, omg, He/She said I have a great foundation!!’ So if a clinician is criticizing and it stings, you may be tempted to dismiss that moment too quickly, without realizing the potential. I have said it before and will say it again, when you receive what you think is harsh criticism, it is possible that person is seeing you just one small step away from being really, really sensational. If not sensational, markedly improved. You don’t need to take a clinic for approval, take the clinic to actually learn and grow with your horse(s). I think there are some very good clinicians still left in this world, and encourage you to have the confidence to pursue them.
I love to see professionals riding in clinics, too. Or, at the very least, auditing. Trainers can use what they have learned to better help their own students, and no trainer is too good for a clinic. Sometimes you may even be used as an example for other attendees, sometimes you won’t, but it doesn’t matter, be open to the information and use it wisely.
Remember!
One exercise can be turned into several. Use your notes to break up what you heard into individual exercises each time you ride. Did your interpretation of a circle not align with a circle in the eyes of the clinician? Spend a week doing better circles. In each gait. Sitting, or standing in two-point, with no stirrups, or one stirrup. or… with your leathers over your saddle. The possibilities are endless my friends, endless.
For the full video of me using Greg’s exercise, watch here. He invented the use of this contraption and I think it is one of the absolute best tools I have ever learned from a clinician. He nailed it! You can see in the beginning I struggled with my balance, but eventually started to get more comfortable. Special thanks to Caves Farm in Owings Mills, Maryland for the use of the indoor, and Nicole Wilson and Joyce Rill for the use of Airborne to make this video! As always, I am a big believer in County Saddles. Thank you for your continued support County Saddle family, I have loads of happy horses and customers because of you.